
Last updated November 2, 2026
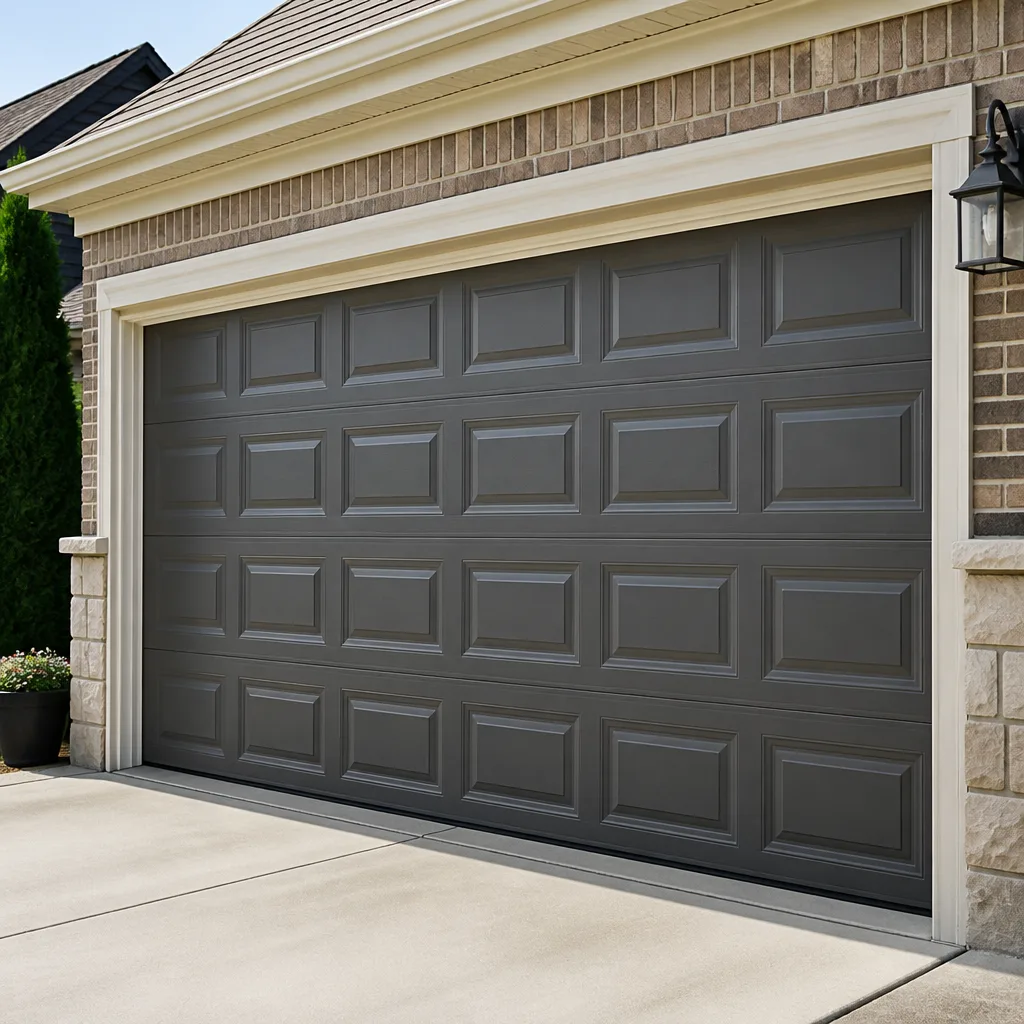 Raised-panel steel
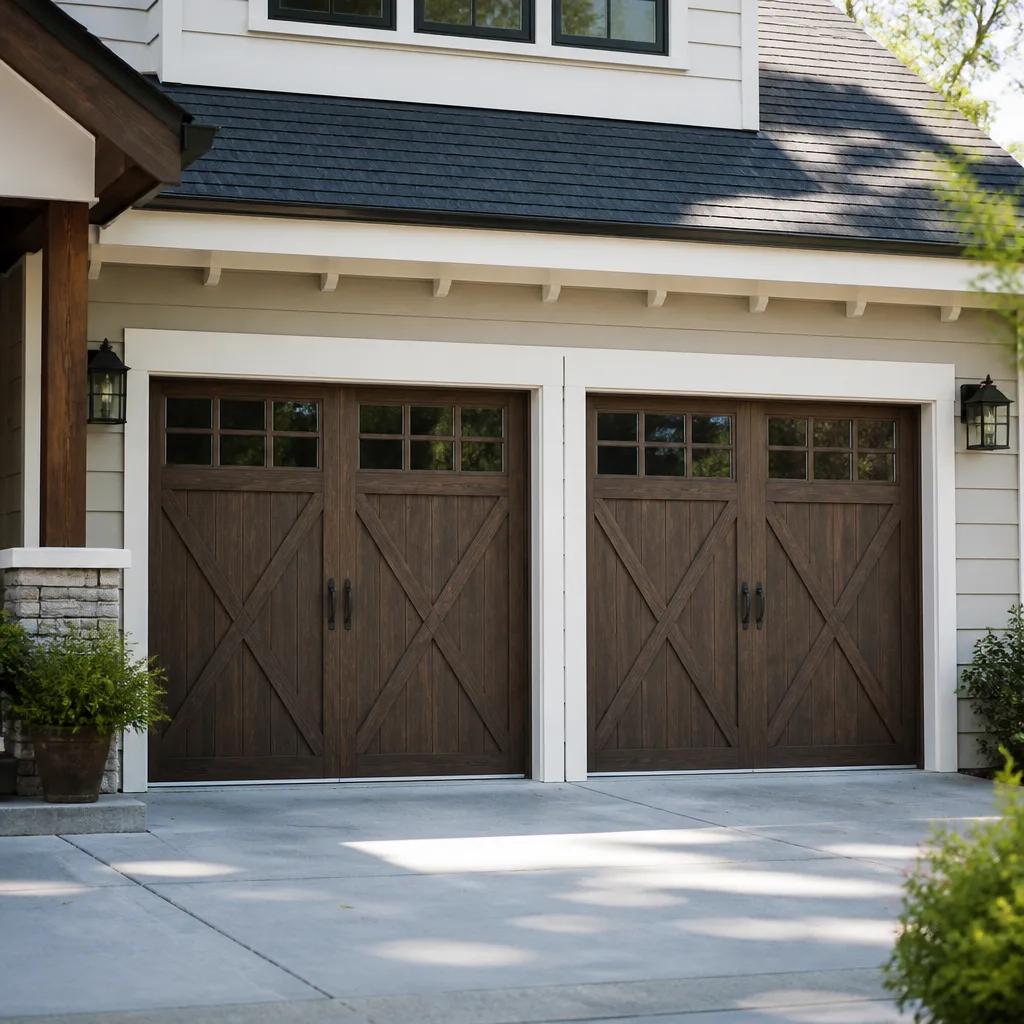 Carriage house
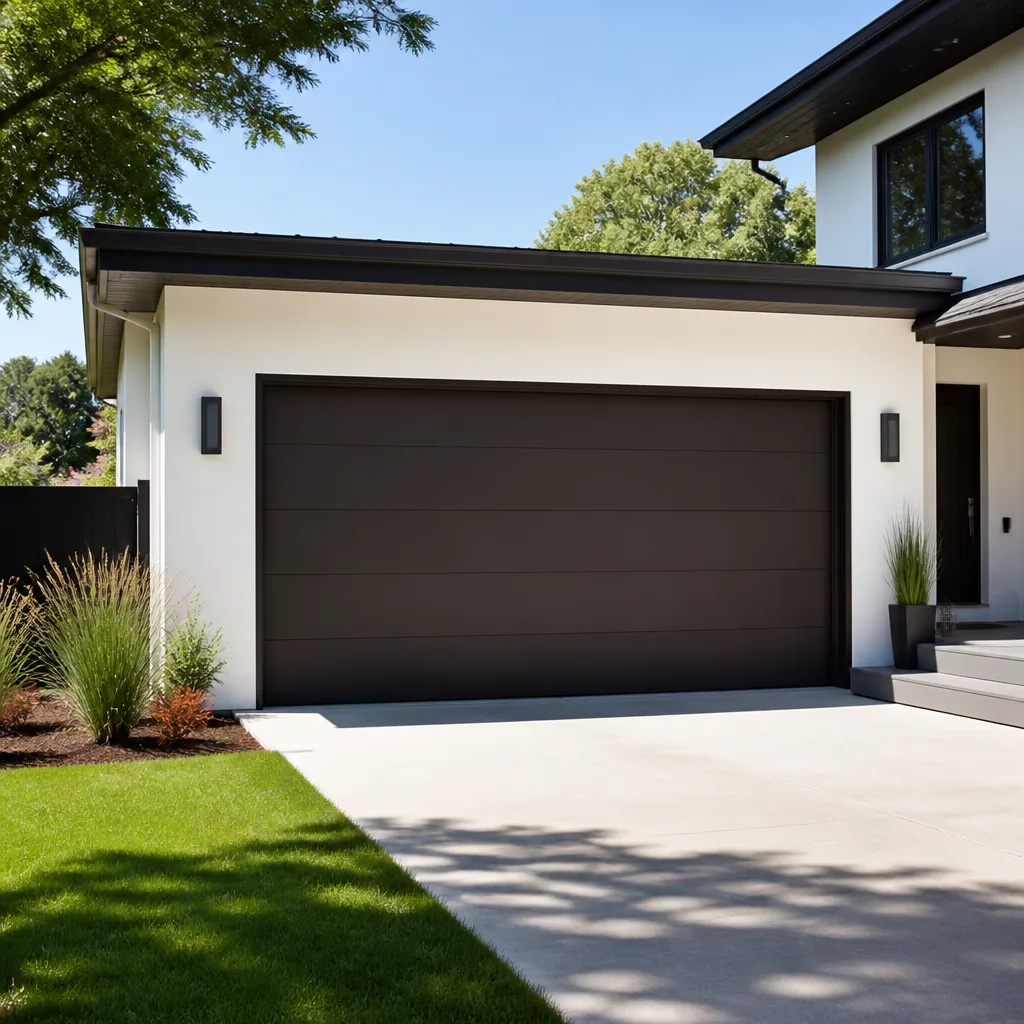 Modern flush
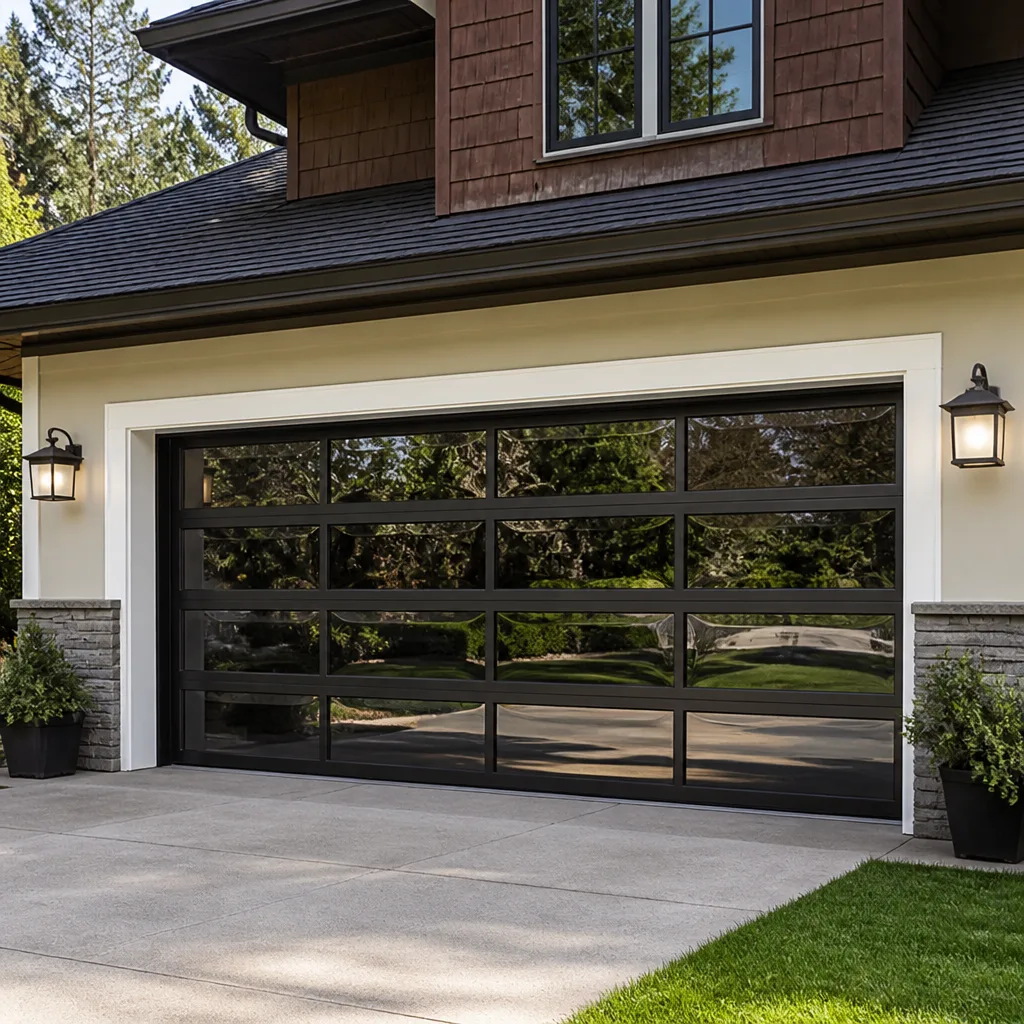 Full-view glass
 LiftMaster openers
 Chamberlain openers
Full 25-point door and opener safety check with every visit - springs, cables, rollers, tracks, and your LiftMaster or Chamberlain opener included
You get a price before we start. It does not change when the truck arrives.
Get your free estimateGarage Door Repair Troubleshooting: Common Problems and How to Fix Them
Most garage door problems get misdiagnosed before anyone ever touches a tool. The door that reverses before it hits the ground? Nine times out of ten, the homeowner blames the safety sensors, swaps them out for $80, and the door still reverses. What’s actually happening could be drift in the opener’s limit switch, a warped bottom seal from Gardena’s summer heat, or a stretched spring that’s changed the door’s resting position. This guide is built on a different approach: treating the door’s behavior as a diagnostic chain, where each symptom narrows the field before you ever pick up a wrench. We’ll walk through the exact sequence professional technicians use to separate opener-side faults from door-side faults, how to read error codes from LiftMaster, Chamberlain, and Genie openers in plain English, and the simple tests that prevent you from replacing parts that were never broken. You’ll finish knowing what you can safely fix this afternoon and what genuinely needs a trained hand.
Quick Answer
Most garage door issues fall into two buckets: door-side problems (springs, rollers, tracks, cables, panels) and opener-side problems (motor, drive gear, logic board, sensors, remotes). The reliable first step is always the same: pull the emergency release cord and operate the door by hand. If it’s heavy, stuck, or grinding, you’ve isolated a door-side fault and can skip electrical testing entirely. If it glides smoothly by hand but misbehaves under power, the problem lives in the opener, and error codes plus sensor testing will point to the exact component. When you know which half of the system is failing before you start guessing, you avoid the most expensive mistake in our Garage Door Repair services: replacing parts by hunch.
Styles & brands we work with
- Raised-panel steel
- Carriage house
- Modern flush
- Full-view glass
- LiftMaster openers
- Chamberlain openers
Table of Contents
- Door-Side vs. Opener-Side: The Split That Saves You Money
- The Three-Stage Diagnostic Sequence
- Opener Error Codes Decoded: LiftMaster, Chamberlain, and Genie
- When Worn Rollers and Track Hardware Mimic Electrical Problems
- Door Won’t Close or Reverses Mid-Cycle
- Door Won’t Open or Opens Partially
- Grinding, Shaking, and Slow Movement: Small Sounds, Big Warnings
Door-Side vs. Opener-Side: The Split That Saves You Money
Before diagnosing any specific symptom, you have to answer one question: is the problem in the door itself, or in the machine that moves it? This distinction matters because the repair paths are completely different. Door-side work involves springs under extreme tension, cables, rollers, and track alignment. Opener-side work involves electronics, drive mechanisms, sensors, and programming. A Wayne Dalton door with a broken torsion spring will behave nothing like a LiftMaster opener with a stripped drive gear, even though both can leave you standing in the driveway with a door that won’t move.
The tell that separates them is the disconnect test. Every modern opener has an emergency release cord, usually a red handle hanging from the trolley. Pull it, and the door is disconnected from the opener. Now lift the door manually. A properly balanced door should lift with one hand, hold position about halfway up, and feel smooth through the full travel. If it fights you, sags, or slams down, the problem is door-side. If it moves like it’s on bearings but the opener still can’t run it, the problem is opener-side. This one step, performed correctly, eliminates roughly half of all possible causes before you’ve spent a dime. We train every technician in Gardena to run this test before writing up any diagnosis, because the alternative’s expensive: guessing wrong, replacing a good part, and still having the original problem when the door goes down again.
Most homeowners we talk to in Gardena never think about springs until one snaps. But spring condition affects how the opener behaves every single day. An opener working against a weakened spring draws more current, runs hotter, and fails earlier. The door itself might still lift, but the opener’s laboring harder with every cycle. That’s why a complete diagnostic always includes checking spring balance as part of the door-side assessment. You’re not just looking for a snapped coil; you’re checking whether the spring’s lost its original tension and is offloading work onto the motor.
The Three-Stage Diagnostic Sequence
Professional technicians in Gardena and everywhere else follow a tiered approach that moves from zero-risk observation to progressively more involved testing. Here’s the sequence, in order, with what to look for at each stage. You can do the first two stages safely. The third stage involves electrical components and should be done with the opener unplugged unless the test specifically requires power.
Stage 1: Visual Check (No Tools, No Risk)
- Springs first. Look at the torsion spring above the door or the extension springs along the tracks. A broken torsion spring shows as a visible gap in the coil, often two to four inches wide. A broken extension spring hangs disconnected. Never stand directly under a spring that’s under tension.
- Cables. Check both lift cables for fraying, kinks, or a cable that’s jumped its drum or pulley. A door that sits crooked after a cable slips is a serious safety hazard and should not be operated again until a technician addresses it.
- Rollers and hinges. Look for rollers with flat spots, cracked plastic wheels, or a hinge that’s pulling loose from the panel. Listen for any roller that’s seized rather than spinning.
- Track alignment. Run your eye down both vertical and horizontal track sections. Look for obvious gaps where the track has pulled away from the wall, bent sections, or bolts that have backed out.
- Bottom seal. A warped, torn, or stiff bottom seal changes how the door sits at the floor, which can affect the opener’s down-limit sensing and trigger phantom reversals.
Stage 2: Manual Operation Test (Isolate Door-Side Faults)
- Close the door fully, then pull the emergency release cord. This disconnects the trolley from the opener’s chain or belt.
- Lift the door by hand to about waist height and let go. It should stay roughly in place. It should not drift upward or drop toward the floor.
- Open fully and check for smooth travel. Any binding, scraping, or uneven movement points to rollers, track alignment, or hinge wear.
- Close slowly, watching both sides. If one side moves faster than the other, you’ve found a cable or track issue.
- If the door performs perfectly by hand, the problem is in the opener. Move to Stage 3.
Stage 3: Electrical Component Isolation (Opener-Side Faults)
- Unplug the opener and inspect the drive gear and trolley assembly for stripped teeth or wear. A LiftMaster opener that hums without moving often has a shredded drive gear inside the motor housing.
- Check the safety sensors at the bottom of each door track. Both should have solid LED indicators when the opener’s powered and the sensors are aligned. A blinking light means misalignment, a wiring fault, or sun interference.
- Test the wall button and remote separately. If the wall button works but remotes don’t, the issue is in receiver programming or battery state. If neither works, check power to the outlet and the opener’s internal fuse.
- Look for an error code on the opener’s diagnostic display or overheat protection reset. Count any flashing sequences on the learn button or main light and match them to the brand’s code chart in the next section.
Opener Error Codes Decoded: LiftMaster, Chamberlain, and Genie
Modern openers speak to you through blinking lights and diagnostic displays. The problem is that most homeowners never learn the language. Here’s what the codes actually mean on the three opener brands we see most often in Gardena garages.
LiftMaster and Chamberlain (Same Parent Company, Similar Codes)
- Up arrow flashes 1 time, down arrow flashes 1 time: Both safety sensors are misaligned or blocked. This usually trips when something’s leaning against the photo-eye or the bracket’s been knocked loose.
- Up arrow flashes 1 time, down arrow flashes 2 times: The door is detecting an obstruction OR the force setting is too low. If you’ve checked the path and nothing’s there, the opener’s force sensitivity needs adjustment, not new sensors.
- Up arrow flashes 4 times, down arrow flashes 1 time: The opener’s internal thermal protection has activated. This happens in Gardena summers when the motor overheats after multiple cycles in hundred-degree heat. Let it cool for 20 minutes and it usually clears.
- Up arrow flashes 4 times, down arrow flashes 6 times: The logic board is detecting a problem with the RPM sensor or the motor circuit. This is a service call, not a DIY fix.
- Main light flashes 5 times with a clicking sound: The travel module is failing. The limit switch that tells the opener where up and down are has drifted or died.
Genie
- One red flash on the powerhead, then repeat: The safety sensors are misaligned or blocked. Genie uses the same first-line code as everyone else because sensors are the most common fault on every brand.
- Two red flashes: A wire is shorted somewhere between the wall button and the motor, or the wall button itself is stuck. Unplug the wall button and test with the remote only. If remote operation works, replace the button.
- Three red flashes: The door traveled too far or the limit switch assembly is failing. On older Genie screw-drive units from the 1990s and 2000s, this is one of the most common age-related failures.
- Four red flashes: The motor is drawing excess current. That points to a door-side problem: broken spring, misaligned track, or a door that’s binding somewhere in its travel.
One pattern worth noting: a Craftsman opener from any era will typically follow the LiftMaster/Chamberlain code structure, since the drive systems share common engineering. If you’ve got a Craftsman in Gardena with a blinking sequence that doesn’t match anything in the manual, it’s worth a call before you assume the unit’s dead.
When Worn Rollers and Track Hardware Mimic Electrical Problems
Here’s a scenario we see repeatedly in Gardena: a homeowner calls about a door that stops mid-cycle and reverses, convinced the sensors or logic board have failed. What they’re actually experiencing is a mechanical issue that trips the opener’s force sensors. The opener can’t tell the difference between hitting a bicycle and fighting a seized roller, so it reacts the same way: stop and reverse. The homeowner’s been replacing electrical components on a perfectly healthy opener while the real problem keeps getting worse.
The test that separates these is straightforward. Run the door with the opener and pay attention to how it moves, not just whether it moves. A mechanical problem announces itself through sound and vibration first. Worn nylon rollers make a chattering or rumbling sound as they travel the tracks. A loose track bolt translates as a shudder or a pulse in the door’s movement. A dry bearing produces a metallic scrape. If you hear any of these but the sensors report clean and the codes show nothing, stop looking at the opener. You’ve got door-side wear.
Rollers deserve particular attention in Gardena’s climate. Heat and dry air accelerate nylon degradation. A roller that’s cracked or missing chunks of its wheel will catch on the track radius as the door transitions from vertical to horizontal. That single catch point creates enough resistance to trigger the opener’s obstruction detection, and the door reverses every time it hits that spot. The fix isn’t reprogramming the opener; it’s replacing rollers, usually all of them at once so the door travels evenly. While you’re in there, check every track bolt and bracket. A track that’s moved even a quarter inch changes the door’s geometry enough to throw off limit switches and force settings.
Raynor doors are less common in Gardena than Wayne Dalton or Clopay, but their track systems use a slightly different nose bracket design that’s worth mentioning. If a Raynor door starts binding near the top of its travel, check the quick-turn brackets at the upper corners before assuming the track’s bent. Those brackets take the full force of the radius turn and wear differently than standard residential hardware.
Door Won’t Close or Reverses Mid-Cycle
The single most common service call in Gardena is the door that starts closing, then reverses before it reaches the floor. The instinct is to blame sensors, and sometimes that’s right. But it’s fourth on the list of likely causes, not first. Here’s the full diagnostic order.
- Obstruction check. Look at the floor area where the door lands. A rake handle, a hose, a kid’s toy, even a raised edge on the concrete from a slab shift. Clear anything in the path and test again.
- Sensor alignment and cleanliness. Wipe both photo-eyes with a dry cloth. Check that both LEDs are solid. A strand of cobweb across the lens or direct afternoon sun hitting the receiver can cause false obstruction readings. In Gardena, west-facing garages get hit hard with late-day sun, and sensors in that orientation return phantom faults unless shaded or reversed.
- Limit switch drift. Over time, the contacts inside the limit switch assembly wear and the opener’s “down” position creeps. The door thinks it’s hit the floor when it’s actually six inches above it. Check whether the door stops at a consistent height each time. If it does, adjust the down-limit setting per your opener’s manual. If the stop point changes randomly, the limit switch is failing outright.
- Force sensitivity issues. A door that’s gotten slightly heavier due to a weakening spring requires more force to close. If the opener’s close-force setting hasn’t been adjusted to compensate, the opener reverses thinking it hit an obstruction. This is the classic case of a spring problem masquerading as a sensor problem.
- Bottom seal deformation. In Gardena’s summer heat, rubber bottom seals can warp and curl. A curled seal catches under the door as it closes, creating resistance at exactly the wrong moment. Run your hand along the seal. If it’s not lying flat or shows visible waves, replace it.
- Panel damage. A door that’s been hit by a car bumper, even lightly, may have a dented bottom panel that drags or catches on the track. This creates intermittent resistance that reads as an obstruction.
If the door passes all six checks and still reverses, the problem’s in the opener’s logic board or the RPM sensor. That’s a board-level repair or opener replacement, not a sensor swap. Giving us a call for Garage Door Opener Repair in Gardena at that point gets you a definitive answer rather than another guess on a $60 part.
Door Won’t Open or Opens Partially
A door that refuses to open is usually a different beast than one that won’t close. The failure points sit in the spring system and the opener’s drive mechanism more than in sensors and limits. Here’s the sequence we follow when a Gardena homeowner tells us the door won’t go up.
First, run the disconnect test. Pull the release cord and try lifting by hand. If the door’s extremely heavy or won’t move at all, you’ve found a broken torsion spring. A broken spring is not a DIY repair. The spring is under enough tension to cause serious injury if it breaks or releases unexpectedly. The door will usually sit crooked on the floor, with one side slightly higher, and you’ll hear a loud snap from the garage when it breaks, often mistaken for a car backfire or a gunshot. If you suspect a broken spring, stop testing and call a technician.
If the door lifts smoothly by hand, the problem’s in the opener. The most common scenarios:
- Stripped drive gear. LiftMaster and Chamberlain chain-drive openers from the late 2000s through the mid-2010s are notorious for this. The plastic drive gear inside the motor housing shreds, and the motor spins while the trolley stays put. You’ll hear the motor running but nothing moves. The gear itself is a replaceable part, but on older units, considering the age of the rest of the opener is wise.
- Broken belt or chain. A snapped belt is obvious on inspection. A chain that’s slipped its tension can also fail to engage the trolley. Check whether the trolley’s engaged with the belt or chain at all.
- Dead capacitor or start winding. The motor hums but doesn’t turn. You’ll hear a low buzz for a few seconds, then the thermal overload trip. On older units this is often fixable with a capacitor replacement. On newer units, the whole motor’s replaced as a unit.
- Travel module failure. The door opens a few inches and stops. The opener thinks it’s reached the up-limit. This points to the travel module or limit switch, same as the close-side failure described earlier.
Opens-partially has one additional cause worth checking specifically in Gardena: home fire door standards. Some Gardena homes built in specific tract developments have heavier doors and specific requirements around emergency release. If your door opens partially and then stops with the opener running, check that no aftermarket insulation panels have been added to the door surface. Added weight changes the balance point enough to stall a marginal opener. This is also a concern for homes that have added solar panels or insulation in the garage itself, both of which change the thermal profile and sometimes affect opener electronics.
Grinding, Shaking, and Slow Movement: Small Sounds, Big Warnings
Most garage door failures don’t announce themselves suddenly. They whisper for weeks first. The grinding you hear when the door moves, the slight shake at the halfway point, the door taking noticeably longer to open than it did a year ago: these are early signals of failures that will strand you at the worst possible moment. Learning to read them now saves you an emergency call later.
Grinding almost always comes from one of two places: the rollers or the opener’s drive gear. If the grinding is loudest at the door itself, especially during the transition from vertical to horizontal track, focus on rollers and hinges. If the sound’s centered on the opener body, it’s the drive gear’s death rattle. LiftMaster and Chamberlain units with worn drive gears grind under load but sometimes sound normal when free-spinning. The disconnect test helps here too: a door that’s noisy with the opener connected but quiet when opened by hand has an opener-side problem.
Shaking during travel usually points to track or panel issues. Watch the door as it passes the halfway point, where the track bends. A door that visibly shudders there has wear in the rollers, the track brackets, or the panel’s connection to the hinges. The bottom panel takes the most stress in every cycle and is the most common panel to crack around its hinge plates. A cracked panel flexes under load, and that flex translates through the entire door. Sometimes you can see the crack from inside the garage, running sideways from a hinge point.
Slow movement deserves special attention because it’s almost always a spring issue. An opener can’t run at full speed against an under-tensioned spring. The motor labors, the door crawls, and the problem accelerates as the spring continues to weaken. A torsion spring that’s lost its factory tension may look fine. The door still opens, so the homeowner assumes everything’s working. But the current draw on the opener increases with every cycle, and eventually either the spring fails completely or the opener’s motor burns out. When a Gardena home’s opener dies unexpectedly, the cause is usually a spring that should have been replaced six months earlier.
None of these are problems to put off. A Garage Door Repair in Gardena call now costs less than an emergency call at 7am when the door won’t open and you’re late for work. The repair itself is the same; the timing isn’t.
Common Mistakes to Avoid
- Replacing sensors first without checking anything else. The sensors are the most blamed and least failed component on modern openers. Check obstructions, spring balance, and limit settings before spending money on new photo-eyes.
- Ignoring the manual test. Skipping the disconnect cord might be less obvious but it guarantees guesswork. The manual test splits door-side from opener-side in 30 seconds. Everything else is derived from that answer.
- Lubricating with the wrong product. WD-40 is a solvent, not a lubricant. It strips existing grease and accelerates wear on rollers and hinges. Use a lithium-based garage door lubricant specifically designed for the purpose, and never lubricate the tracks themselves.
- Adjusting the opener’s force settings to compensate for a weak spring. Turning up the force so the door closes despite extra resistance masks the real problem and strains every component in the system. This is like turning up a radio instead of checking the engine.
- Working on a door with a broken spring, even to “just get the car out.” A broken spring means the full weight of the door is unmanaged. Emergency release cords can snap under sudden load, and the door can drop without warning. This is the one scenario where no safe workaround exists.
- Treating all error codes as sensor codes. Blinking lights don’t all mean the same thing. Match the sequence to the brand’s code chart before replacing anything. A Chamberlain code that looks like a sensor error can actually be a thermal overload trip.
- Putting off small repairs until they become big ones. The worn roller this month becomes a broken track next season. The weak spring discovered in July becomes a snapped spring in December. Garages in Gardena don’t cool down enough to make any of this go away on its own.
See the difference
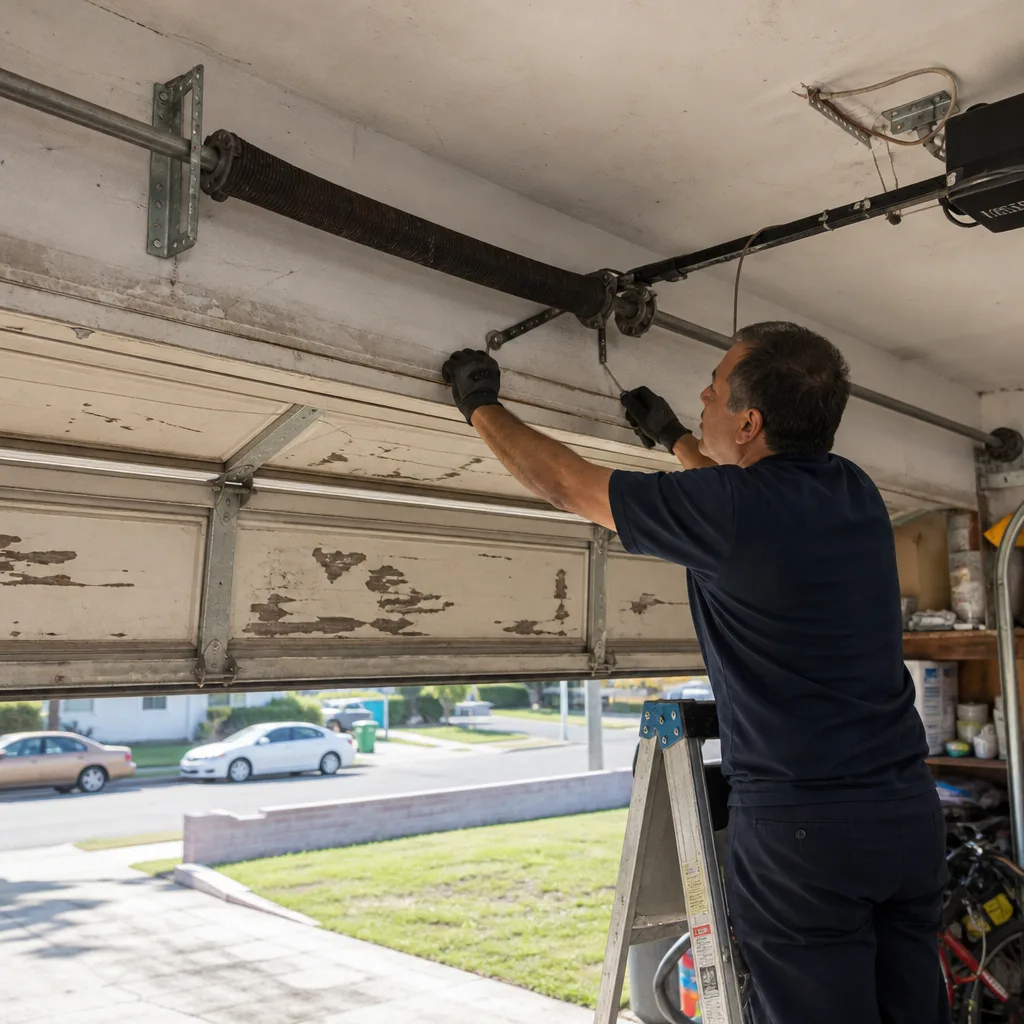 Before
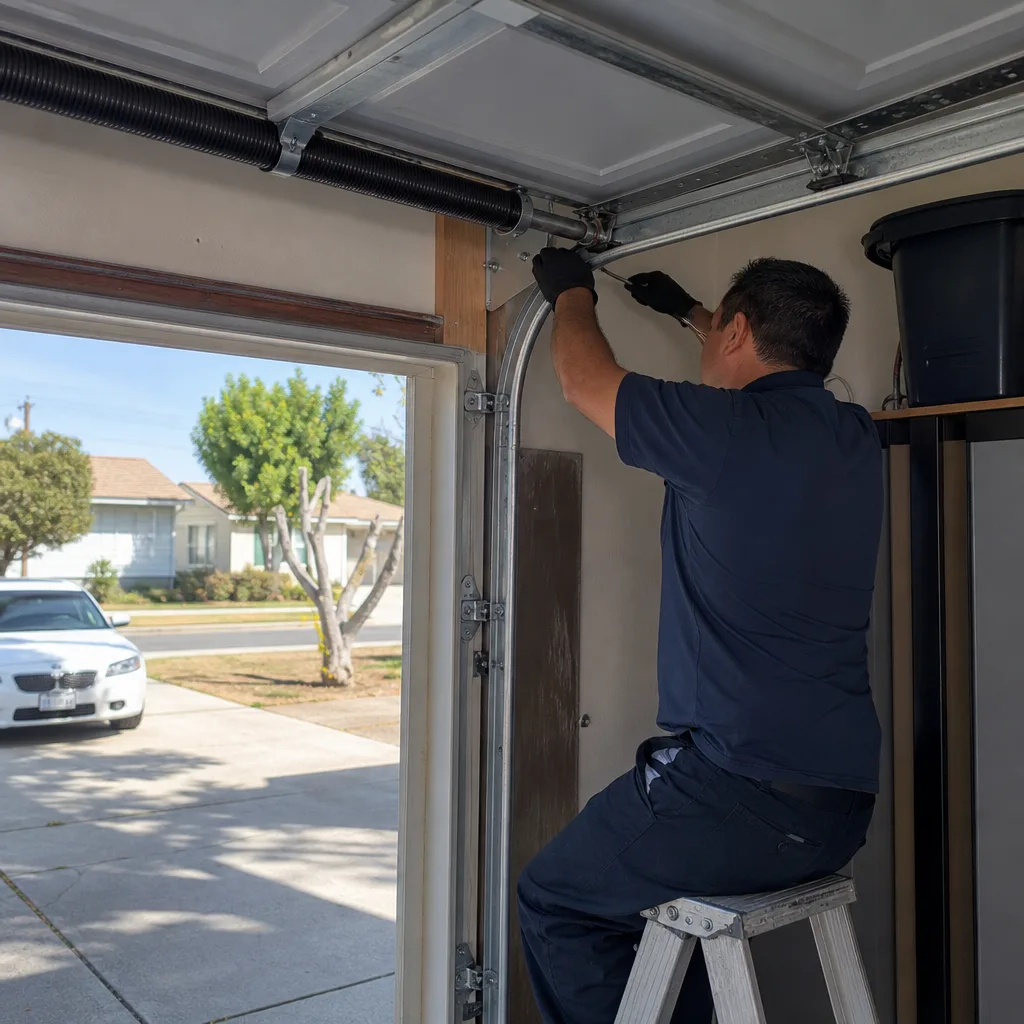 After
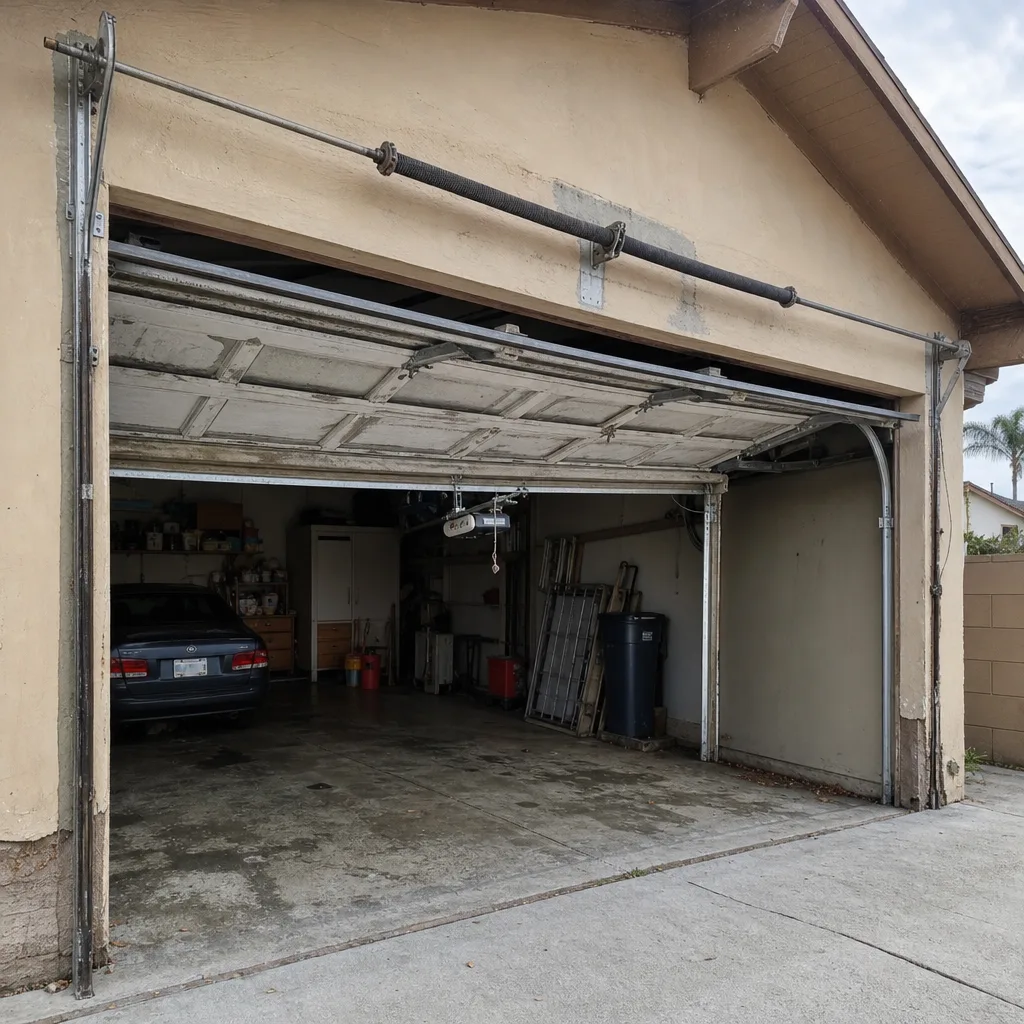 Before
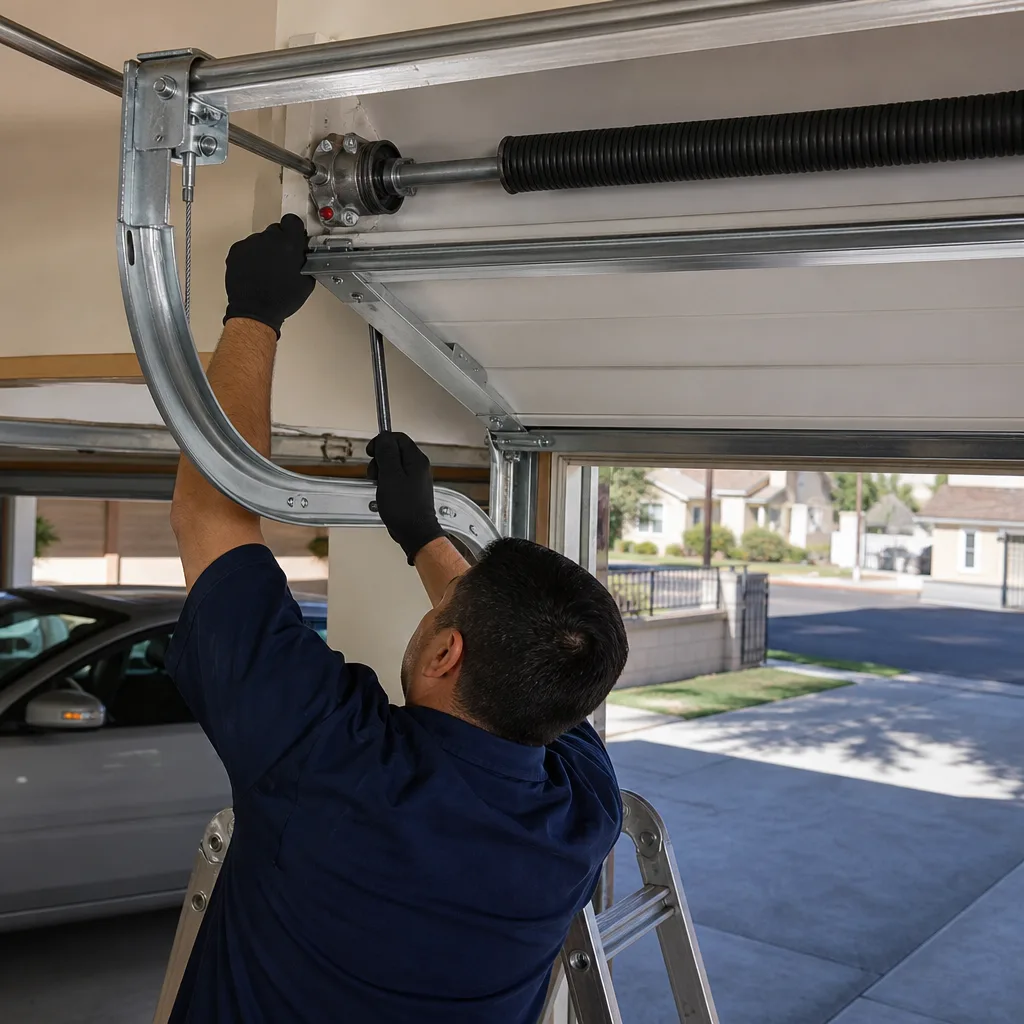 After
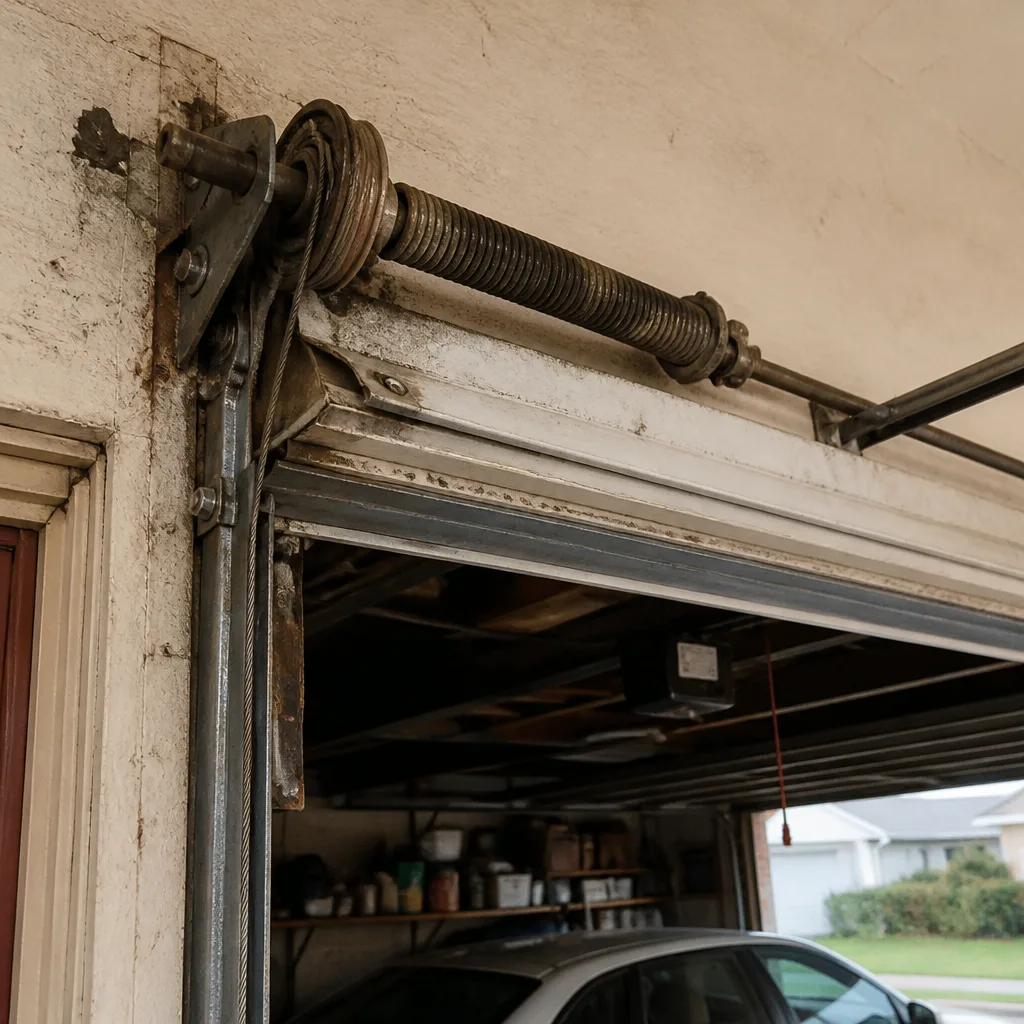 Before
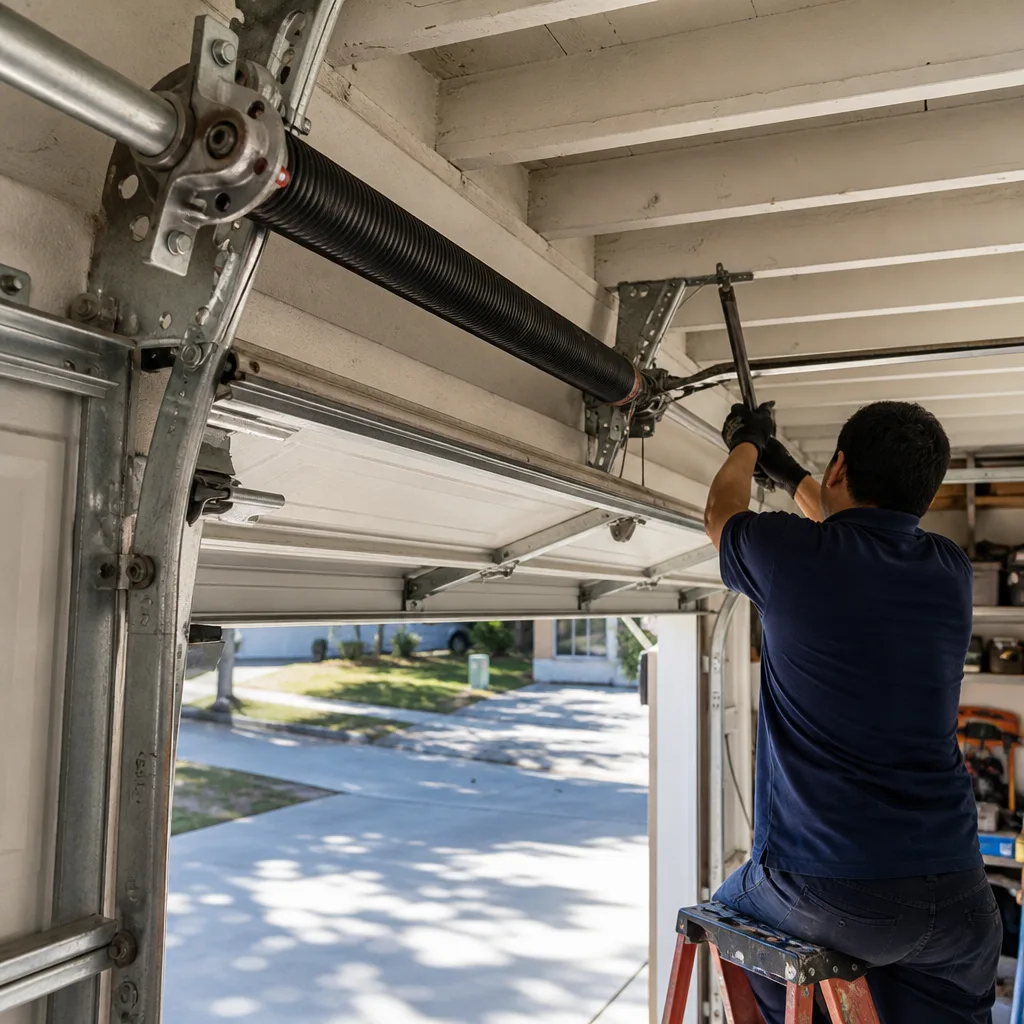 After
When to Call a Professional
Some problems clear up with a sensor wipe and a limit adjustment. Others need specialized tools, knowledge of spring engineering, and the experience to know when a component is about to fail. If you’ve got a broken spring, a snapped cable, a door that’s off its tracks, or an opener that’s showing board-level errors, the work is genuinely dangerous and the wrong move makes things worse. Springs under tension, cables under load, a door that can drop several hundred pounds without warning: these aren’t the conditions for a first-time repair. Garage Door Service Gardena home offers free estimates in Gardena, and our technicians carry parts for Wayne Dalton, Craftsman, Raynor, and LiftMaster systems on the truck, so the diagnosis and the fix usually happen in one visit. If you’re in Gardena and looking at a problem you’re not sure about, call (866) 562-1805. We’ll tell you over the phone whether it’s safe to fix yourself or whether you need a tech.
Frequently Asked Questions
Four causes account for nearly all mid-cycle reversals: dirty or misaligned safety sensors, a drifted limit switch, a weakened spring that’s made the door heavier than the opener’s force setting allows, or a warped bottom seal creating resistance at the floor. Start by wiping the sensor lenses and clearing the door’s path, then run the manual disconnect test. If the door moves smoothly by hand, the problem’s in the opener; if it’s heavy, you’ve found a spring issue.
You’ll usually hear a loud snap, like a gunshot or car backfire, coming from the garage. The door will sit slightly crooked on the floor, and pulling the emergency release makes the door almost impossible to lift by hand. If you see a visible gap in the torsion spring’s coil above the door, that’s confirmation. Do not attempt to operate the door. Call a professional.
Different blink patterns indicate different fault conditions. A single blink on the up arrow paired with a single blink on the down arrow means both safety sensors are misaligned or blocked. One blink up and two down means an obstruction was detected or the close-force setting is too low. Four up and one down means thermal overload, which often clears on its own after the motor cools. Four up and six down indicates a logic board problem that needs professional attention.
Sometimes a reset clears transient electronic faults, but a reset doesn’t fix a stripped drive gear, a failed travel module, or a broken spring. If your Genie shows a consistent red flash code after a reset, the underlying condition remains. Use the flash sequence to identify the fault class, then decide whether it’s a cleaning job or a service call.
Shaking during travel usually traces to worn rollers, loose track bolts, or a cracked panel flexing under load. Watch the door at its halfway transition point, where the track curves. If the shake is worst there, inspect each roller for flat spots or cracks. A loose track bolt at any point in the travel also creates a visible pulse. These issues worsen with each cycle, so address them before the track or panel sustains real damage.
Repair costs in Gardena vary widely by the fault. A sensor alignment or lubrication job runs on the low end, typically under $150. Roller replacement falls in the moderate range, often $150 to $300 depending on door size and roller count. Spring replacement, which is the most common major repair, typically runs $250 to $500 including parts and labor. Opener board or motor replacement can exceed that when the whole unit needs replacing. The only way to get an accurate price is to have the door diagnosed. Our estimates are free, and the price is quoted and agreed before any work starts. Call (866) 562-1805 and we’ll give you a straight answer.
The Bottom Line
Garage door troubleshooting isn’t about memorizing symptoms and fixes. It’s about understanding the system well enough to read what the door’s telling you. The disconnect test splits door-side from opener-side. Error codes narrow opener-side faults to a specific component. Careful listening during operation catches mechanical wear before it becomes mechanical failure. Most importantly, knowing what not to touch, especially springs and cables under tension, keeps you safe while you figure out what’s actually wrong. If you find yourself stuck, remember that Garage Door Installation in Gardena and repair are both handled by the same team, so whether you need a spring, a sensor, or a whole new door, one call covers it. The door’s behavior is a map; this guide just taught you how to read it.
Written by the team at Garage Door Service Gardena, serving Gardena since 2011.